How to Plant Arborvitae: What You Need to Know First
Arborvitae are one of the most forgiving trees you can plant — but the first 90 days after planting are critical. Get the hole depth, watering, and mulch right and your trees will take off fast. Get them wrong and you'll spend the next two years nursing stressed trees that barely grow.
This guide covers everything: site selection, soil prep, planting steps, spacing, and first-year care for all four varieties we grow at Weaver Family Farms Nursery.
What You'll Need
- Shovel or spade
- Garden hose or soaker hose
- 2–3 inches of wood chip or bark mulch
- Compost or aged manure (optional but helpful in poor soils)
- Stakes and tree ties (optional, for windy sites)
- Measuring tape
Step 1: Choose the Right Site

Arborvitae thrive in full sun to partial shade — at least 4–6 hours of direct sun per day. They'll grow in shadier spots but will be slower and less dense.
Soil: They prefer well-drained soil. They'll tolerate clay if drainage is reasonable, but they will not survive in standing water. If your site stays wet after rain, either choose a different location or build a raised berm.
Wind: Avoid planting in a wind tunnel if possible. Arborvitae are susceptible to winter burn (browning from desiccating winds) when planted in exposed locations without protection.
Distance from structures:
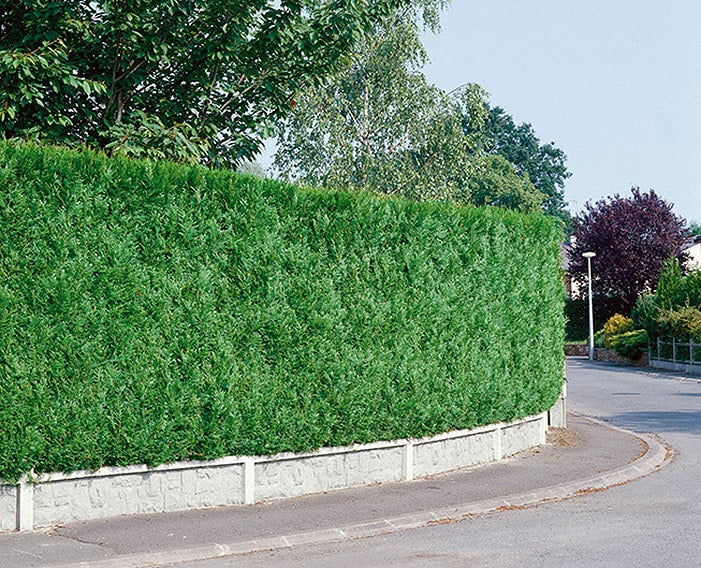
- Green Giant: at least 8–10 ft from fences, buildings, or utilities (matures to 12–20 ft wide)
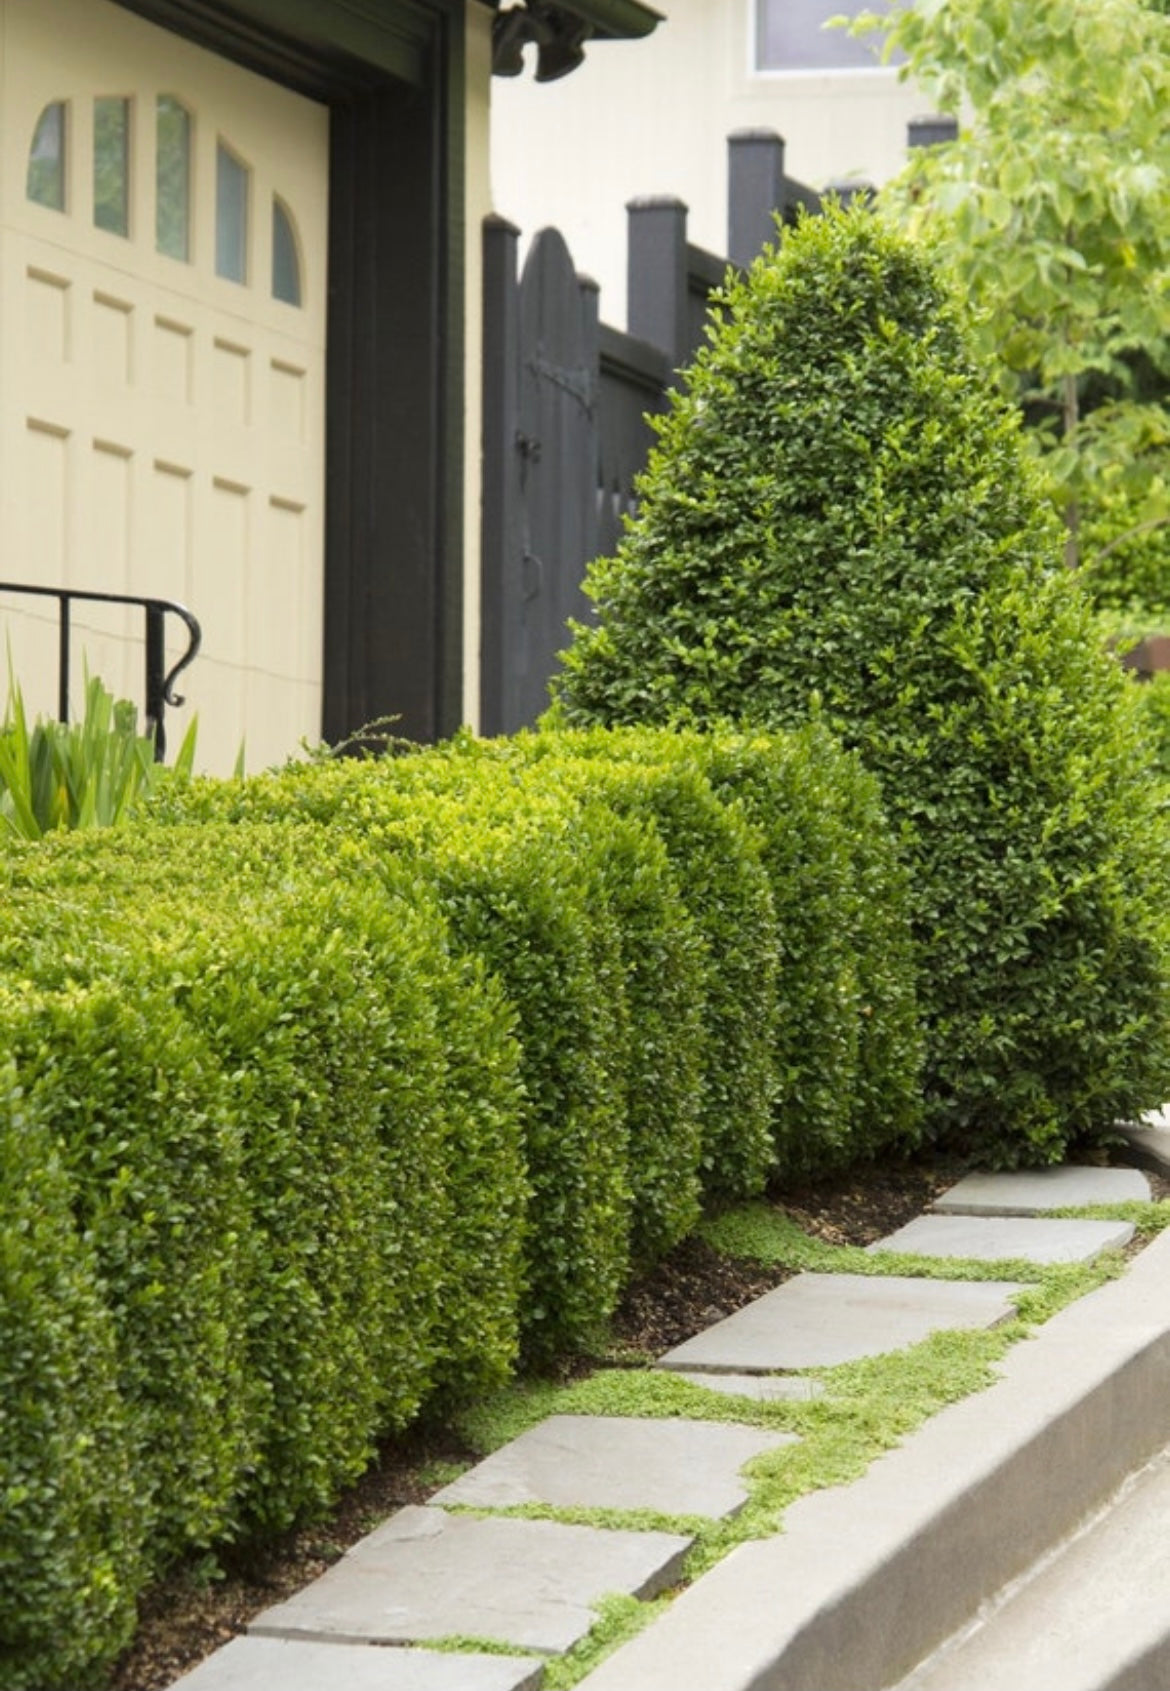
- Emerald Green: 2–3 ft from structures is fine (matures to only 3–4 ft wide)
- Elegantissima: 4–5 ft from structures
- Golden Globe: 2–3 ft from structures
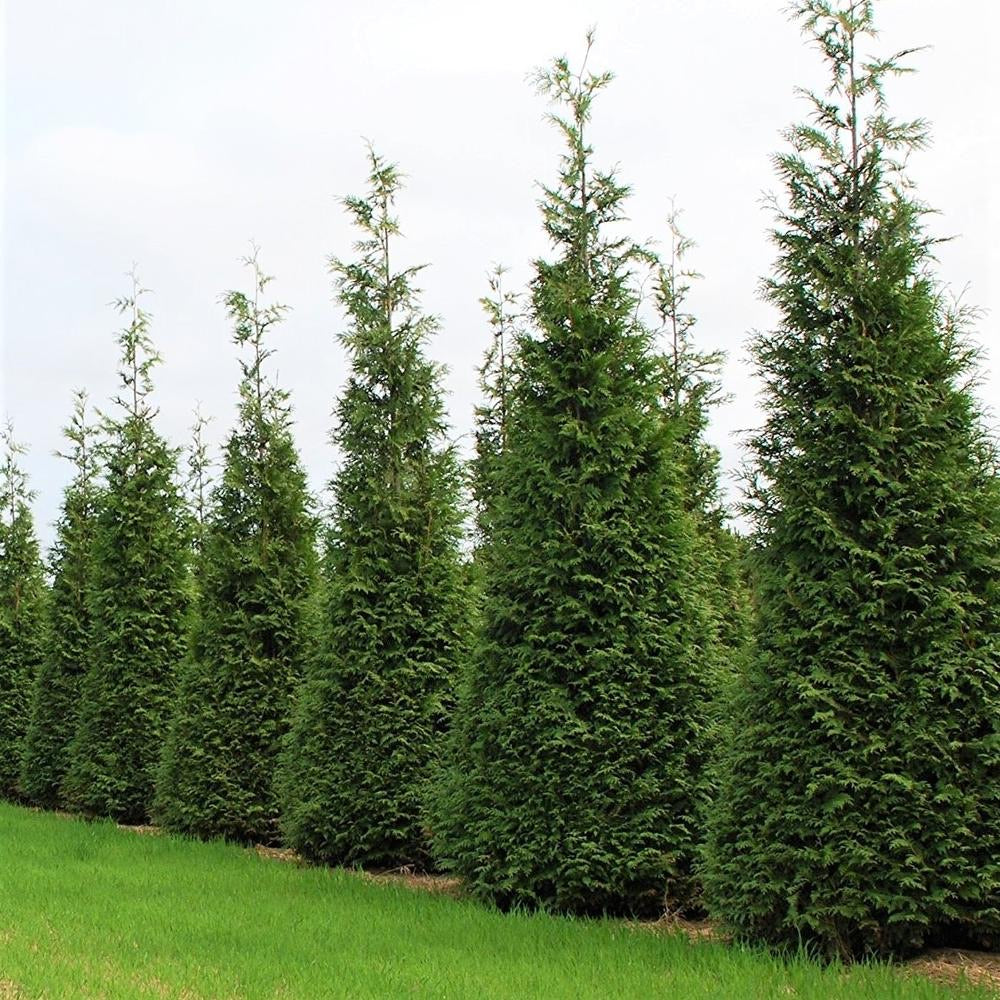
Step 2: Determine Your Spacing
Spacing is one of the most common mistakes with arborvitae. Plant too close and you'll have a dense screen for a few years, then bare bottoms and stressed trees. Plant too far and you wait forever for privacy.
| Variety | Privacy Hedge | Windbreak | Specimen |
|---|---|---|---|
| Green Giant | 5–6 ft | 8–10 ft | 10–15 ft |
| Emerald Green | 2–3 ft | 3–4 ft | 4–5 ft |
| Elegantissima | 3–4 ft | 5–6 ft | 6–8 ft |
| Golden Globe | 3–4 ft | 4–5 ft | 5–6 ft |
For a full spacing breakdown, see our Arborvitae Spacing Guide.
Step 3: Dig the Hole
This is where most people go wrong. The hole needs to be wide, not deep.
- Width: 2–3x the width of the root ball or container
- Depth: Exactly the same depth as the root ball — no deeper
⚠️ Do not plant too deep. This is the #1 arborvitae planting mistake. If the root flare (where the trunk widens at the base) is buried, the tree will struggle and may die within 1–3 years. The top of the root ball should sit at or slightly above ground level.
In clay soils, plant the root ball 1–2 inches above grade and mound soil up around it. This prevents water from pooling around the trunk.
Step 4: Prepare the Soil
Arborvitae don't need rich soil — they're adaptable. But if your soil is very poor (compacted clay or pure sand), mix in some compost at a ratio of about 25% compost to 75% native soil for the backfill.
Do not:
- Add fertilizer to the planting hole — it can burn new roots
- Use pure compost or potting mix as backfill — it creates a "container effect" where roots circle inside the amended zone instead of spreading out
- Add gravel to the bottom of the hole — this actually creates a perched water table and makes drainage worse
Step 5: Remove the Container and Inspect the Roots
If your arborvitae arrived in a container or pot:
- Tip the container on its side and slide the root ball out
- Check for circling roots — any roots wrapping around the outside of the root ball should be cut or straightened before planting
- If the root ball is very tight and pot-bound, score the sides with a knife in 3–4 vertical cuts to encourage outward root growth
If your tree arrived balled and burlapped (B&B):
- Set the tree in the hole before removing the burlap
- Once positioned, cut and remove as much burlap and wire basket as possible from the top and sides
- Natural burlap will decompose, but synthetic burlap will not — always remove it
Step 6: Plant and Backfill
- Set the root ball in the hole and check depth — the top of the root ball should be at or slightly above ground level
- Check that the tree is straight by stepping back and looking from two directions
- Begin backfilling with native soil (mixed with compost if needed), tamping lightly every few inches to eliminate air pockets
- Do not compact the soil heavily — just firm it enough to eliminate voids
- Build a slight watering basin (a low ring of soil) around the outer edge of the planting hole to direct water to the roots
- Water thoroughly immediately after planting — this is the most important step
Step 7: Mulch

Mulch is one of the highest-impact things you can do for a newly planted arborvitae. It:
- Retains soil moisture (reduces watering frequency by 30–50%)
- Moderates soil temperature
- Suppresses weeds that compete for water and nutrients
- Protects roots from freeze-thaw cycles in the first winter
How to mulch correctly:
- Apply 2–3 inches of wood chip or bark mulch in a ring around the tree
- Extend the mulch ring to the drip line (outer edge of the branches) or wider
- Keep mulch 2–3 inches away from the trunk — mulch piled against the trunk causes rot and pest problems
Step 8: Water In and Set a Watering Schedule
Watering is the most critical factor in arborvitae establishment. The goal is to keep the root ball consistently moist (not soggy) for the first full growing season.
First 2 weeks: Water every 1–2 days if no rain. The root ball dries out faster than the surrounding soil, so check it specifically — not just the ground around it.
Weeks 3–8: Water every 2–3 days, or whenever the top 2 inches of soil in the root ball feel dry.
Rest of first season: Water 1–2 times per week during dry periods. Established arborvitae are drought-tolerant, but newly planted trees are not.
Signs of underwatering: Foliage turns yellow-green, then brown from the tips inward. Needles feel dry and brittle.
Signs of overwatering: Foliage turns yellow-green and soft. Root rot sets in if soil stays saturated.
Step 9: Stake Only If Needed
Most arborvitae don't need staking. Staking is only necessary if:
- The site is very windy and the tree rocks significantly in the wind
- The tree is top-heavy relative to its root ball
If you do stake, use soft tree ties (not wire) and remove stakes after one full growing season. Trees left staked too long develop weak trunks.
First-Year Care After Planting
| Task | Timing | Notes |
|---|---|---|
| Watering | Weekly (dry periods) | Most critical in first 90 days |
| Fertilizing | Spring of year 2 | Do not fertilize at planting |
| Pruning | None in year 1 | Let the tree establish first |
| Mulch refresh | Each spring | Top up to 2–3 inches |
| Winter protection | Late fall (exposed sites) | Burlap wrap for wind/sun burn |
Winter Protection for Newly Planted Arborvitae
In the first winter, newly planted arborvitae are more vulnerable to winter burn — browning caused by desiccating wind and sun when the ground is frozen and roots can't replace lost moisture.
If your site is exposed (open field, corner lot, south or west-facing), wrap trees with burlap in late November:
- Drive 3 stakes around the tree (not through the branches)
- Wrap burlap around the stakes to create a windbreak — don't wrap tightly around the tree itself
- Remove in early April before new growth starts
For more on browning causes and fixes, see Why Is My Arborvitae Turning Brown?
Frequently Asked Questions
What is the best time of year to plant arborvitae?
Spring and fall are ideal. Spring planting gives trees a full growing season to establish before winter. Fall planting (6+ weeks before hard frost) works well because cooler temperatures reduce transplant stress and roots continue growing until the ground freezes. Avoid planting in the heat of summer if possible.
Can I plant arborvitae in clay soil?
Yes, with some adjustments. Plant the root ball 1–2 inches above grade to improve drainage, mix compost into the backfill, and avoid overwatering. Green Giant and Emerald Green both handle clay reasonably well.
How deep should I plant arborvitae?
The top of the root ball should be at or slightly above ground level. Never bury the root flare. Planting too deep is the most common cause of slow growth and early decline in arborvitae.
Should I fertilize arborvitae when planting?
No. Do not add fertilizer to the planting hole — it can burn new roots. Wait until the second spring, then apply a balanced slow-release fertilizer (10-10-10 or similar) around the drip line.
How long does it take for arborvitae to establish?
Most arborvitae are considered established after one full growing season. Green Giant, being a fast grower, often shows strong new growth within the first summer. Emerald Green establishes more slowly but is very reliable once rooted in.
Shop Our Arborvitae
All four varieties are grown right here at Weaver Family Farms Nursery and shipped ready to plant.
- Green Giant Arborvitae — fastest growing, best for large privacy screens
- Emerald Green Arborvitae — narrow form, perfect for tight spaces and driveways
- Elegantissima Arborvitae — mid-size with distinctive silvery-gold color
- Golden Globe Arborvitae — dwarf globe form, ideal for borders and accents