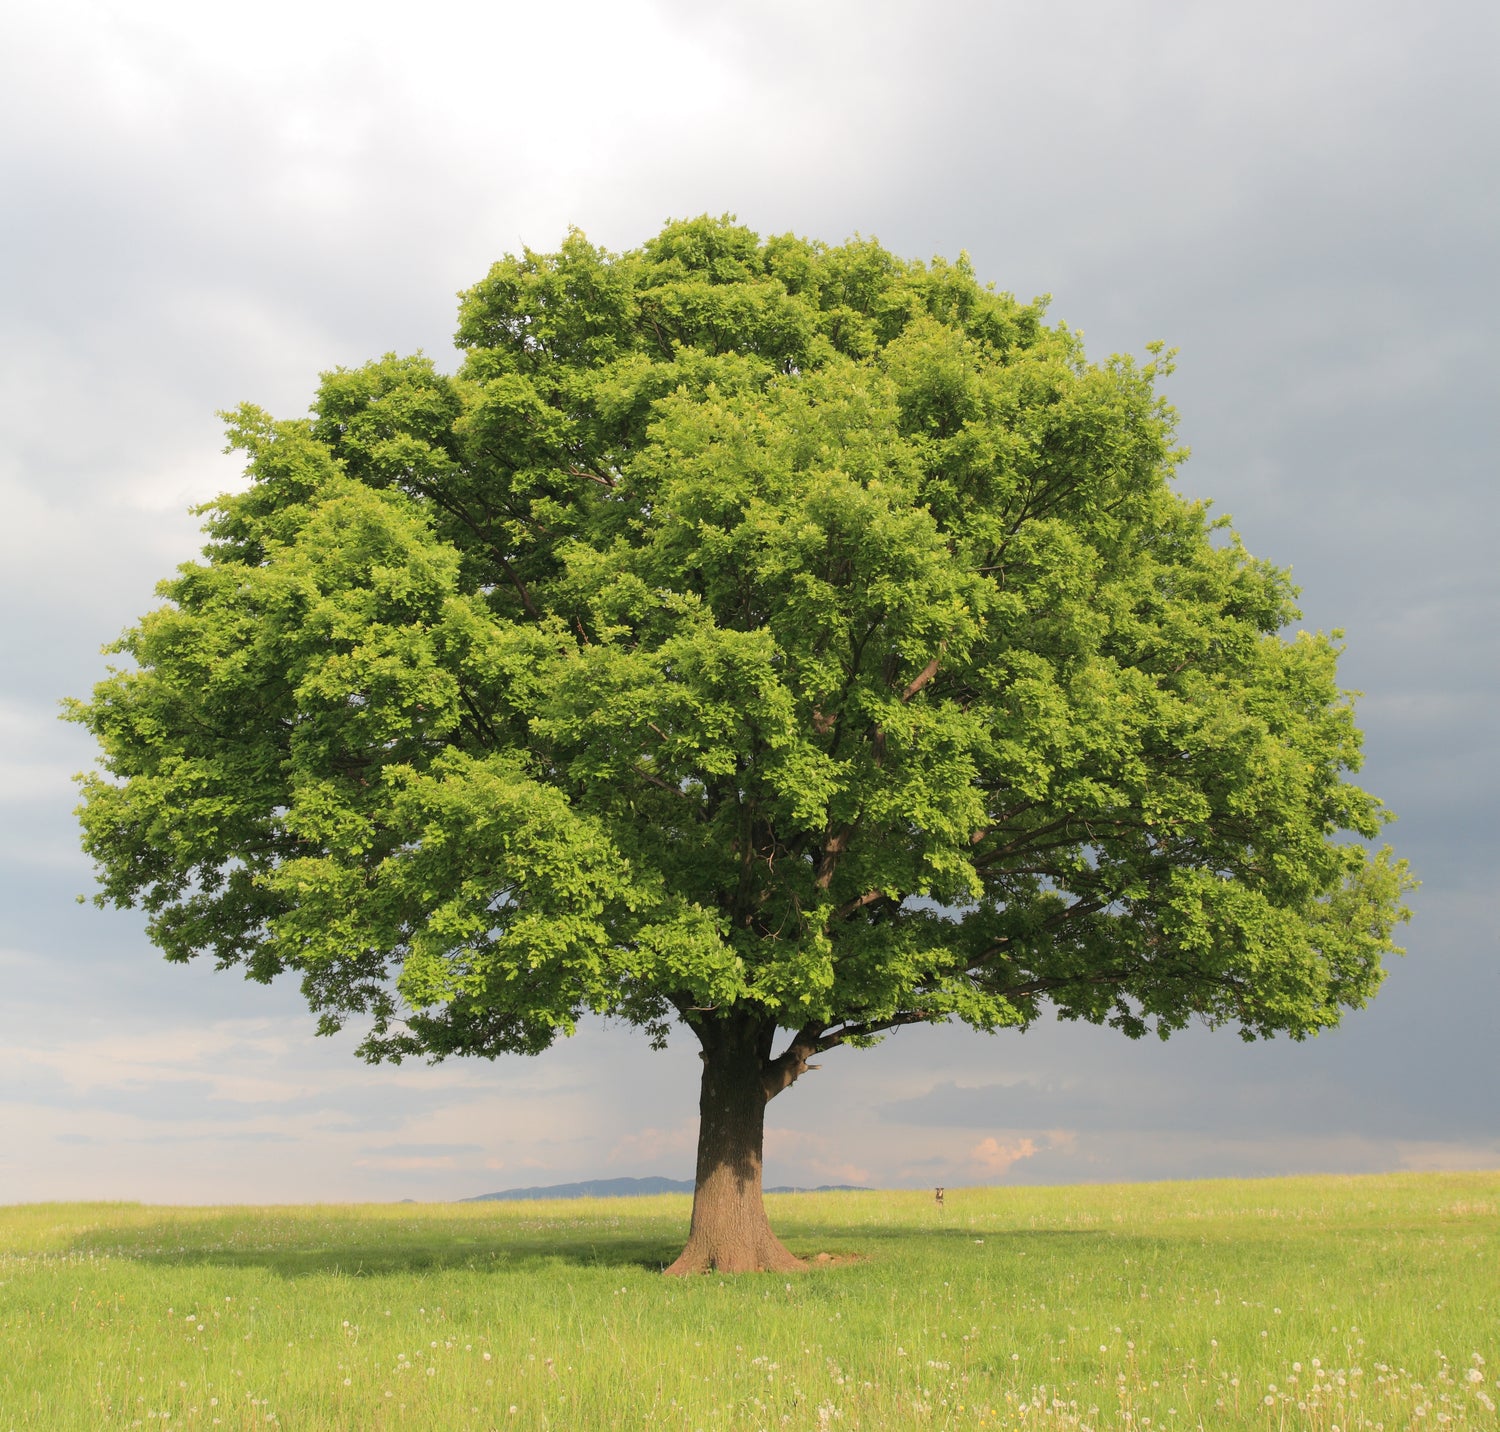
Planting a tree sounds simple. Dig a hole, put the tree in, fill it back up. But the difference between a tree that thrives for decades and one that struggles and dies within a few years almost always comes down to how it was planted. The good news: planting a tree correctly isn't complicated. It just requires knowing a few key principles that most people get wrong.
This step-by-step guide covers everything you need to know to plant a tree the right way — from choosing the right spot to the first few years of care. Follow these steps and your tree will have the best possible start in life.
Before You Dig: The Most Important Step Most People Skip
Before you touch a shovel, call 811 — the national "Call Before You Dig" number. This free service marks the location of underground utilities (gas, electric, water, cable) on your property before you dig. It's free, it's required by law in most states, and it takes just a few days. Hitting an underground utility line while digging is dangerous and expensive. Don't skip this step.
Also check for overhead power lines. Trees planted under power lines will eventually need to be removed or severely pruned. Choose a planting location where the tree has room to reach its mature height without conflicting with lines above or utilities below.
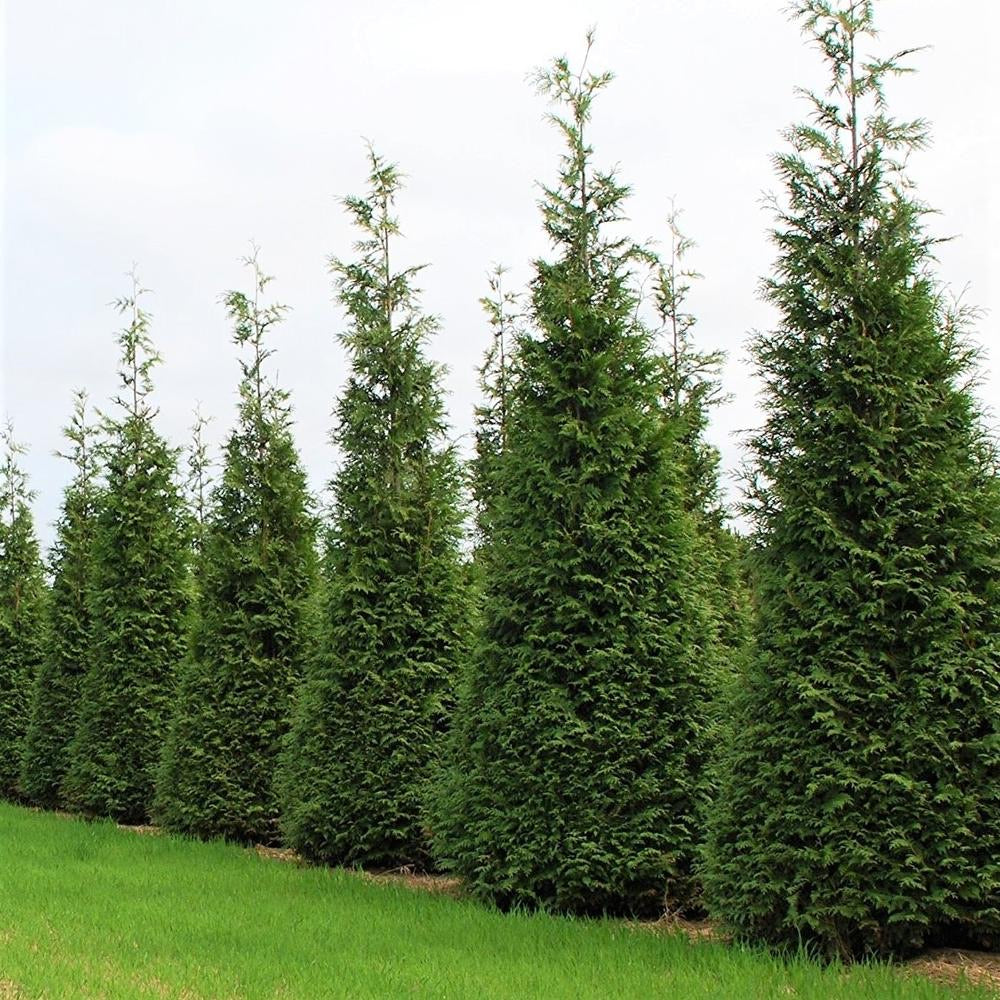
Step 1: Choose the Right Tree for the Right Place
The single most important planting decision you make is choosing a tree that's suited to your specific site. Before selecting a tree, know:
- How much sun does the spot get? Count the hours of direct sunlight. Most trees need 6+ hours for best performance. Some tolerate partial shade.
- What's the soil like? Is it clay, sandy, or loamy? Does it drain well or stay wet after rain? Different trees have very different soil preferences.
- How much space is available? Know the mature height AND spread of the tree you're planting. A tree that reaches 60 feet tall and 40 feet wide needs to be planted far from your house, power lines, and other trees.
- What's your hardiness zone? Most of the Midwest falls in Zones 4–6. Choose trees rated for your zone or colder.
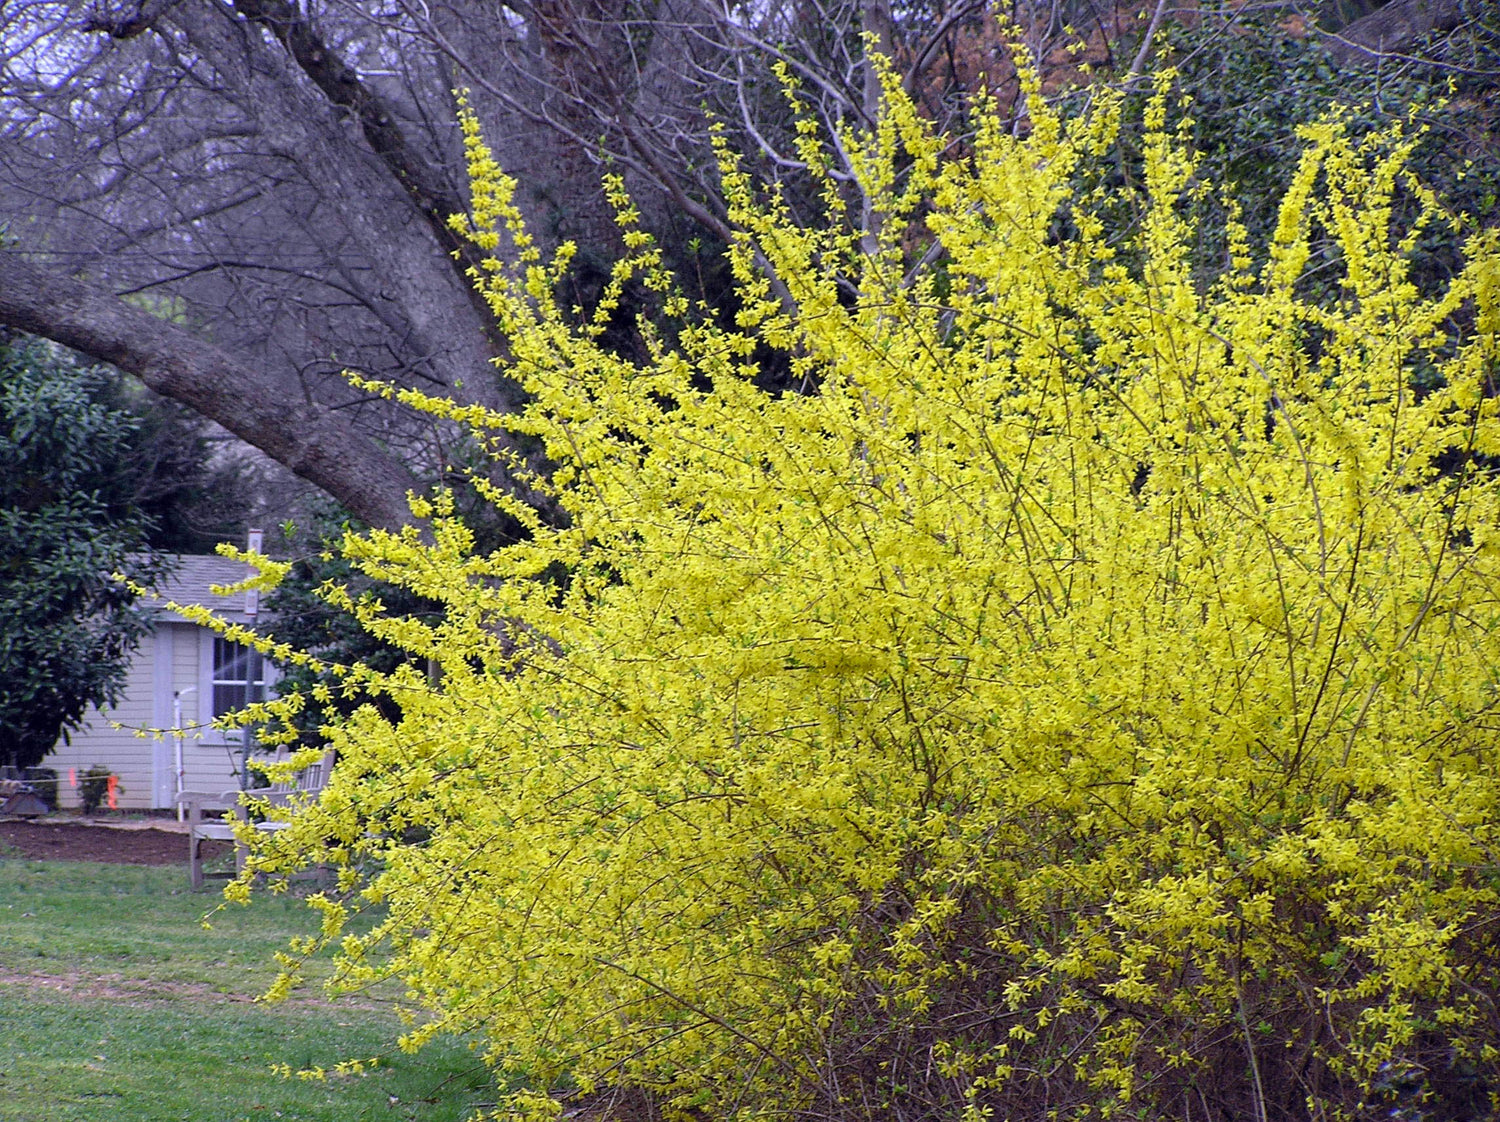
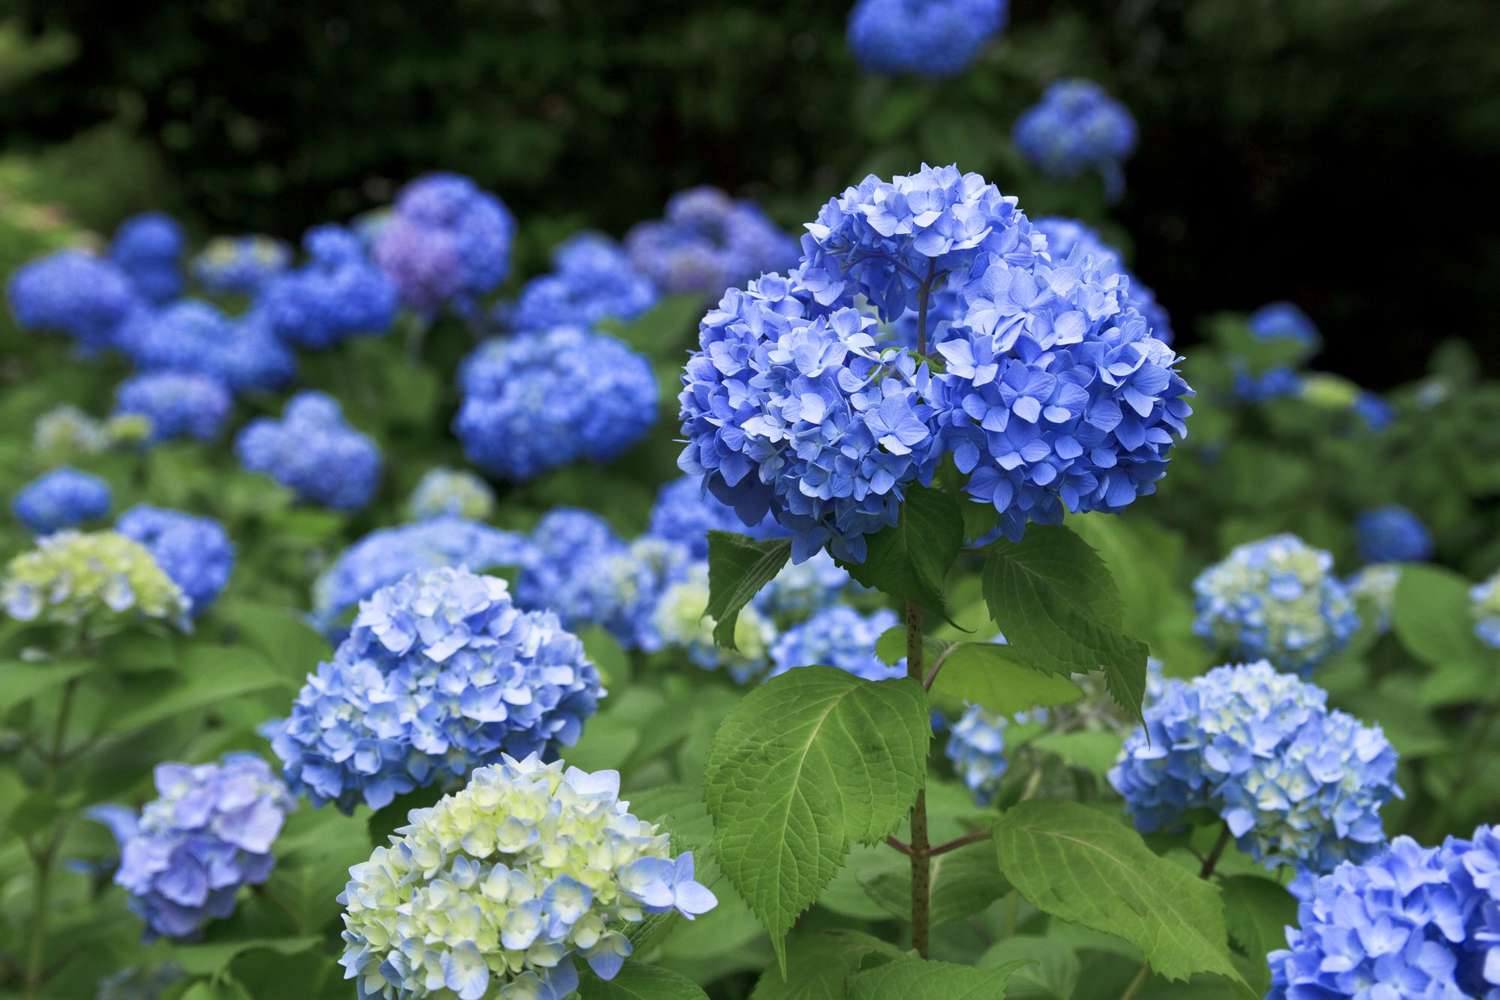
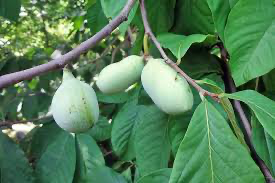
- What's the purpose? Shade, privacy, food production, wildlife habitat, fall color? Different goals call for different trees.
The right tree in the right place will thrive with minimal care. The wrong tree in the wrong place will struggle no matter how well you plant it. Browse our full plant collection to find the right tree for your specific situation.
Step 2: Choose the Right Time to Plant
In the Midwest, the two best times to plant trees are:
- Early spring — as soon as the ground can be worked, before trees leaf out. The cool temperatures and spring rains help trees establish roots before the stress of summer heat.
- Fall — from late August through October, at least 6 weeks before the ground freezes. Fall planting allows root development through the cool fall months before winter dormancy. Many trees establish faster when planted in fall.
Avoid planting in the heat of summer if possible — the combination of transplant stress and summer heat is hard on newly planted trees. If you must plant in summer, water more frequently and consider temporary shade cloth to reduce heat stress.

Step 3: Dig the Right Hole
This is where most people go wrong. The most common planting mistake is digging the hole too deep and too narrow. Here's the correct approach:
Width: Make It Wide
Dig the hole 2 to 3 times wider than the root ball. This is not optional — it's the most important dimension of the hole. Tree roots grow outward, not downward. The wide, loosened soil around the root ball allows roots to spread easily in their first critical years. A narrow hole forces roots to circle and can eventually strangle the tree.
Depth: Make It Shallow
Dig the hole no deeper than the height of the root ball. The top of the root ball should sit at or slightly above the surrounding soil grade — never below it. Planting too deep is one of the most common causes of tree death, and it's entirely preventable.
Here's how to check: set the tree in the hole and look for the root flare — the point where the trunk widens as it meets the roots. The root flare must be at or above ground level. If you can't see the root flare, the tree is planted too deep.
Sides: Rough Them Up
Use a shovel or garden fork to roughen the sides of the hole. Smooth, compacted hole walls can act as a barrier that roots struggle to penetrate. Rough sides make it easier for roots to grow out into the surrounding soil.

Step 4: Prepare the Tree
Before placing the tree in the hole:
- Remove all packaging. Remove any burlap, wire baskets, twine, or container material. Burlap and wire left on the root ball can restrict root growth and eventually girdle the tree. Even "biodegradable" burlap should be removed or at minimum pulled away from the top of the root ball.
- Inspect the roots. Look for circling or girdling roots — roots that are wrapping around the trunk or root ball. Straighten them if possible, or cut them if they can't be straightened. Circling roots left in place will eventually strangle the tree as they grow.
- Don't shake or disturb the root ball more than necessary. Keep the root ball intact and handle the tree by the root ball, not the trunk.
Step 5: Set the Tree at the Right Height
Place the tree in the center of the hole. Check that:
- The root flare is at or slightly above the surrounding soil grade (1–2 inches above is fine; below grade is not)
- The tree is standing straight (step back and check from multiple angles)
- The best side of the tree is facing the direction you want
Take your time here — it's much easier to adjust the tree's position before you backfill than after.

Step 6: Backfill — With Native Soil Only
This surprises many gardeners: backfill with the native soil you dug out of the hole. Do not amend it with compost, peat moss, or other materials.
This sounds counterintuitive — shouldn't you give the tree better soil? The problem is that amended backfill creates a "bathtub" effect. Water collects in the amended hole because it drains differently than the surrounding native soil. Roots also tend to stay in the amended zone rather than growing out into the native soil, which limits the tree's long-term stability and drought tolerance.
Native soil backfill encourages roots to grow outward into the surrounding soil from day one, which is exactly what you want.
Backfill in layers, tamping gently as you go to eliminate large air pockets. Don't compact the soil heavily — just firm it enough to eliminate voids. Water as you backfill to help settle the soil.
Step 7: Build a Watering Basin (Optional but Helpful)
After backfilling, use any remaining soil to build a low ring or berm around the outer edge of the planting hole — about 3–4 inches tall. This creates a basin that holds water directly over the root zone when you irrigate, directing it exactly where the tree needs it rather than letting it run off.
This is especially helpful in the first growing season when you're watering frequently. You can level the berm after the first year once the tree is established.
Step 8: Mulch — The Right Way
Mulching is one of the most beneficial things you can do for a newly planted tree — but it's also one of the most commonly done wrong. Done correctly, mulch:
- Retains soil moisture, reducing how often you need to water
- Moderates soil temperature, keeping roots cooler in summer and warmer in winter
- Suppresses competing grass and weeds that steal water and nutrients
- Gradually improves soil structure as it breaks down
- Protects the trunk from lawn mower and string trimmer damage
How to Mulch Correctly
- Apply 2–4 inches of wood chip mulch in a ring around the tree
- Extend the mulch ring as wide as possible — ideally to the drip line of the tree (the outer edge of the canopy). At minimum, 3–4 feet in diameter.
- Keep mulch away from the trunk. Leave a 2–3 inch gap between the mulch and the trunk. Mulch piled against the trunk (called a "mulch volcano") traps moisture against the bark, promotes rot and disease, and can kill the tree over time.
Read our full guide on why mulch volcanoes kill trees — it's one of the most important things you can know as a tree planter.

Step 9: Water Thoroughly
Water the tree deeply immediately after planting. You want to saturate the entire root ball and the surrounding soil. For a typical nursery tree, this means applying 5–10 gallons of water slowly so it soaks in rather than running off.
A slow trickle from a hose laid at the base of the tree for 20–30 minutes works well. Or use a tree watering bag (like a Treegator) that releases water slowly over several hours.
Step 10: Staking — Only If Necessary
Most trees don't need staking. Trees that can move in the wind develop stronger root systems and sturdier trunks than staked trees. Stake only if:
- The tree is in a very exposed, windy location
- The tree is top-heavy and won't stand upright on its own
- The site has very loose, sandy soil that won't anchor the root ball
If you do stake, use two stakes placed outside the root ball with flexible ties, allow some movement, and remove stakes after one growing season.
The First Two Years: Watering Is Everything
The number one cause of newly planted tree death is inconsistent watering during the establishment period. Here's what you need to know:
- Year 1: Water deeply 2–3 times per week during dry spells. The goal is to keep the root ball consistently moist — not waterlogged, not bone dry.
- Year 2: Water deeply once a week during dry spells. The tree's root system is expanding, but it still needs supplemental water during drought.
- Year 3 and beyond: Most trees are established and largely self-sufficient. Water during extended drought (2+ weeks without rain) but otherwise let rainfall do the work.
Deep, infrequent watering is far better than shallow, frequent watering. Apply water slowly so it soaks in rather than running off. Don't water on a schedule — push a finger 2–3 inches into the soil near the root ball. If it comes out dry, water. If moist, wait.
Common Tree Planting Mistakes to Avoid
- Planting too deep. The root flare must be at or above grade. This is the most common and most deadly planting mistake.
- Digging too narrow a hole. Wide holes are more important than deep holes. Go wide.
- Leaving burlap or wire on the root ball. Remove all packaging before planting.
- Amending the backfill. Use native soil only.
- Mulch volcanoes. Keep mulch away from the trunk.
- Staking too long. Remove stakes after one season.
- Underwatering in year one. Consistent moisture during establishment is non-negotiable.
- Overwatering. Waterlogged soil suffocates roots. Check soil moisture before watering.
- Fertilizing at planting. Don't fertilize newly planted trees. Let them focus on root establishment in year one.
Quick Reference: Tree Planting Checklist
- ☑️ Call 811 before digging
- ☑️ Choose the right tree for the right place
- ☑️ Plant in spring or fall
- ☑️ Dig wide (2–3x root ball width), not deep
- ☑️ Remove all burlap, wire, and packaging
- ☑️ Set root flare at or above grade
- ☑️ Backfill with native soil only
- ☑️ Build a watering basin
- ☑️ Mulch 2–4 inches deep, away from trunk
- ☑️ Water deeply immediately after planting
- ☑️ Stake only if necessary; remove after one season
- ☑️ Water deeply 2–3x per week in year one
- ☑️ Do not fertilize in year one
🌳 Ready to plant your next tree?
Browse our full collection of trees and plants — all shipped directly to your door and ready to plant. Now that you know how to do it right, let's find the perfect tree for your yard.
Browse All Trees & Plants →